Showing posts with label Crafts. Show all posts

Thursday, June 21, 2012

DIY Magnetic Color/Shapes Game

For a few months now my two year old daughter is really interested in colors, shapes, sizes and matching things. And Stickers, those stinkin' fun things that little people use to decorate your furniture when you're not looking. So one afternoon I pulled out my ever growing collection of free fridge magnets to make this:
DSC_0940
A magnetic color/shape/size game box.

This is a great craft that your toddler can help with and the game will provide hours of colorful creative fun, too. Here is what you need:
-fridge magnets, the flat "pizza" or "call your electrician" advertising ones (I don't know about you but we get them on our mailbox or door all the time. I save them, for crafts like this!) If you don't have anything like this laying around there are magnet sheets available in craft stores.
-stickers in different colors, shapes and sizes 
or alternative:
-white paper, glue and markers
-scissors
-a flat plain tin box (from chocolate or cookies, if you don't have a plain colored one you can spray paint a decorated christmas cookie tin or go buy yourself some fancy chocolate in a tin!)
or alternative:
- a fridge door (it's ok to leave it attached to you fridge)
DSC_0796
you see those two-year-old hands trying to steal the tin box to check for leftover chocolate?

DSC_0815

After you gathered all your supplies and ate all the chocolate... here is what you do:
Step 1. Pull off the advert from the magnet. Depending on the quality you'll either have several layers of white paper underneath or the whole thing will just come off and leave you with a plain black magnet. Either is fine if you use stickers (Go to step 3). If you want to draw your shapes with marker it is useful to leave the white paper on. Saves you step two.
Step 2. If the advert pulled off completely or uneven glue some white paper  to the magnet. (regular craft glue should do the job)
Step 3. Create your shapes by either sticking your shape stickers on the white side of the magnet or draw and color the shapes you like. (Both can be done by your happy crafty toddler)
Step 4. Cut out the shapes with sharp scissors.
Step 5. Play.
DSC_0799
you can sort by color

DSC_0800
or shape

DSC_0801
or shape and size

DSC_0942
or build a car... or cities, or faces, or flowers....


It's a great activity to take with you on long car rides, because it's magnetic the pieces won't fall down all the time. As said above you can use it on the fridge or any other magnetic board or metal door around the house too, but the tin box offers you storage and take away play board in one. Plus it can easily be split up for two kids, one can use the top, one the bottom of the box as play board. So yeah to triple-greatness!

The game can easily be adjusted or extended with whatever you come up with... I am thinking to add some face features like magnetic goggly eyes and some wider variety of shapes to make up more faces (like mustaches or glasses).

Saturday, April 21, 2012

Beaded Bracelets

DSC_0675

I recently read over at ikatbag about her daughters' love for Perler beads and it brought back childhood memories. As a child I especially loved a coaster at my grandpa's house that was woven from beads the same size as Perler (or Hama or IKEA PYSSLA) but they were made form ceramic or glass, not plastic. It was a beautiful coaster. Anyways, my 2 year old loves beads at the moment and I just kept thinking of patterns for woven bead projects, so we got a box of fusible beads (and some peg boards, too) from IKEA and I started out on some simple bracelets. The weaving technique is also found on the Perler/Hama website, but there it's not well explained. So here a little tutorial. I think this craft is suitable for kids from age 6 years or older depending on craft skill level and patience ;-).

DSC_0599STEP 1:
Tie a bead (I use a different kind bead so it's obvious) as a stopper to one end of your string/elastic thread).

Add 4 beads (or any even number beads)  to the string.

Note: If you use an odd number beads the pattern will not work out, there is a way to weave with an odd number, but it's a bit more difficult and can be confusing for beginners or young children. You can use any even number, for a bracelet, this will define the width of your bracelet, 4 is a pretty good size for kids arms. You can use this technique for any size projects, 12-16 beads for coasters, or even 50 beads or more for placemats.

DSC_0601STEP 2: 
 Add another bead and put the string through the 3rd bead of the first row.


DSC_0603STEP 3:
Add one bead and put the string through the first bead of the first row.

(You can totally do Step 2&3 in one step, I just separated it for clarity, this is how the kids I did this with understood)


DSC_0604

STEP 4: 
Pull tight. Now you have the basic set-up for the weave pattern.
1-2-1-2 or low-high-low-high.


DSC_0608
STEP 5:
Add a new bead at the low position and pull the string through the blue bead (high) of the last row. Repeat.

Got it? Always add a bead to the low position and pull string through the high of the last row. For a 4 bead wide bracelet you will add 2 beads with each row, switching direction from left-right to right-left and back...


DSC_0611 TIP:
It's much easier and quicker to do this with a needle, as you can see in the picture to the left.

You should pull tight after every row, but you can loosen up the last row a bit to make it easier to put the string through the beads, this is especially helpful if you (or your kids) do this without a needle.


HOW TO FINISH THE BRACELET?

bracelet
Once you bracelet is long enough and both ends fit together like a zipper, simply weave both ends together by going back and forth between one end and the other (see middle picture above.) Tie both ends of the elastic together, cut off the stopper bead and weave a bit of the long end back into the bracelet. you can pull and stretch the bracelet a bit so the knot will not be exposed on the side of the bracelet but hidden inside a bead.

Here a few bracelets I made for my baby... patterns & more coming soon. (Edit: Patterns for the bracelets are found here!)
DSC_0672

DSC_0673


Friday, March 16, 2012

No Sew Kids Craft Apron

This is technically not really an apron more a general cover-up, but it's a 5 minute T-shirt recycling project that will keep your toddler's clothes clean from glitter, glue and paint! It could be the perfect (and way cheapest!) solution for a playgroup, Preschool, Sunday school or any other toddler (group) doing crafts. I know there are really cute crafts apron pattern out there and also tons of cute fabric, but really how much time and money does one invest in something that will only get dirty and spilled on, especially if you have to make 20 or more?

DSC_0368
All you need per apron:
-one old men's T-shirt in size M or L (XL might so huge that you'll actually have to sew it smaller)
-two 15 cm/6" pieces of 1/4" elastic

You'll also need a pair of scissors, 2 safety pins and a few minutes of your time.

First get your toddler and hold the T-shirt up on him/her to check if the size is good. The T-shirt's width from sleeve to sleeve is about the same as your toddler's wrist to wrist measurement. Most likely a M or L will fit any toddler, XL will probably be to big and you'd have to sew the sleeve a bit shorter but I won't go into that here.
DSC_0355


Turn the T-shirt inside out. Find where the seam meets the hem on the sleeve. We'll use the folded hem as casing for the elastic. To do this you have to cut 2 small holes through the inner layer of fabric (the folded bit on the hem), one hole on each side of the seams, but make sure not to cut the seams open. (see pictures below for clarity).
DSC_0344
DSC_0345


Pin one end of the elastic to the sleeve using a safety pin. Attach the second safety pin to the other end of the elastic and insert into the casing, all the way through. The sleeve will start gathering up a lot, that's why we pinned the one end down so it won't slip through.
DSC_0347


Now you should have both ends of the elastic next to each other peaking out of the holes like this:
DSC_0349

Tie the two ends of the elastic together with a double or triple knot (or sew the two ends together, but hey, this is a no sew project!); and remove the safety pins. That's how the finished sleeve looks like:
DSC_0343

 Repeat on second sleeve. Turn the shirt right side out and put on your toddler to see if it fits. The sleeves should be snug around the wrist protecting any other shirt underneath from getting all dirty. The shirt will be pretty long on the toddler, protecting his/her pants, knee-length is the best, protecting most of the clothes but not getting in the way of the little feet. Most likely you can just leave the shirt as is, but if it's way to long cut off a bit from the bottom. And you're done!

DSC_0362
Now put the shirt on your toddler and start the crafty fun...


Tuesday, November 15, 2011

Two Left Hands?

A sneak peek into my day...

Finger paint that turned into a face painting session (sorry - no pics of that!)
DSC_1149

and a pot holder in XS for my "Little Chef"
DSC_1156

Friday, October 14, 2011

Happy Sukkot! (Feast of Tabernacles)

 Wednesday night was Erev Sukkot (the beginning of the Feast of Tabernacles). We had a bunch of friends over at our house for dinner. Unfortunately we don't have a space to build a real Sukkah (tabernacle/booth) but you can't really have this holiday without one. So I put a bunch of craft supplies out on the table and had each family make their own mini Sukkah. It was a lot of fun. You only need some craft paper, stapler, tape, olive branches, throw in some crayons and crepe paper for decoration and there you go. It was quiet busy that night and everybody took their Sukkah home, so I don't have any proper pictures. But here is what I snapped during the happy booth making! Hope you don't mind the craft mess around...

A Sukkah for the table

side view

colored Sukkah, and Sukkah-making in action

It's tradition to decorate the sukkah with fruit


A triangle sukkah

Monday, June 13, 2011

7 happy things.


1. shadows on our ceiling


2. a gift for a toddler friend...


3. and what's in it... tea time! (yeah to having time for crafts!)


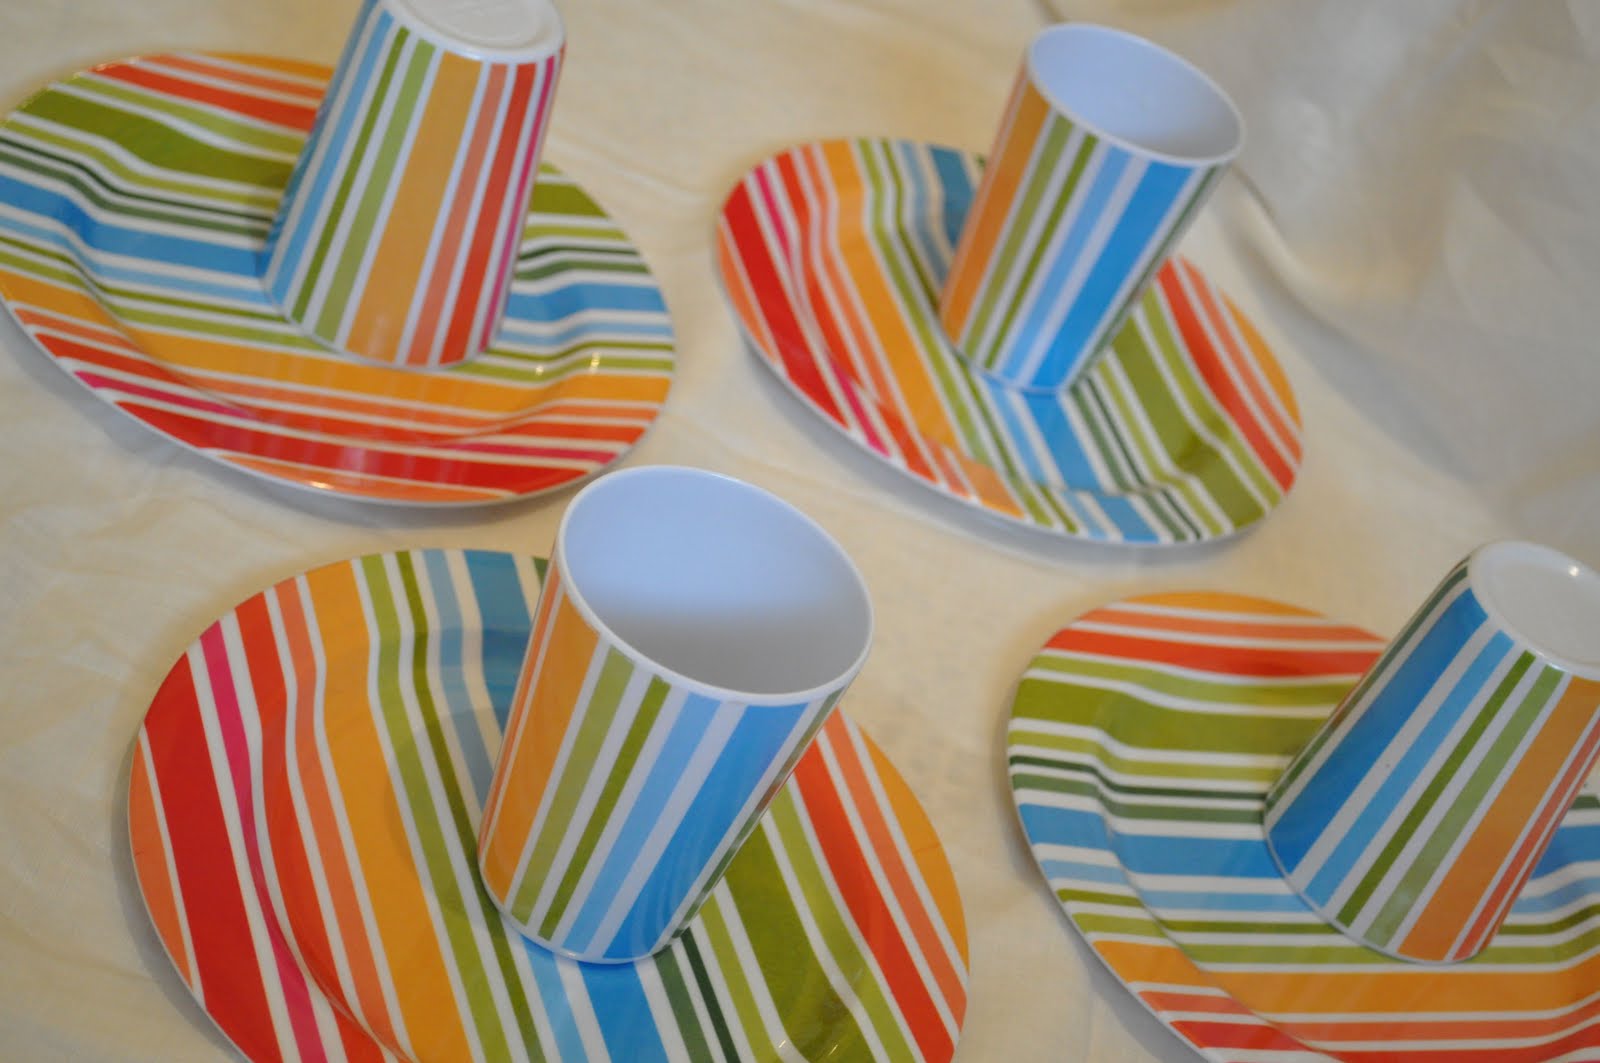
4. great stripes for little money in homecenter


5. a cup of wine with my dear husband, best friend and lover!


6. watching all 4 Pirates movies in 2 weeks and humming the melodies of the awesome music in it for days (no more pirates for one year at least!)


7. getting soaking wet from the rain on a summer day. in israel. it's a miracle!
no picture though :(

Thursday, May 12, 2011

I Made It!

I finally finished the rag doll for my daughter! I almost had given up on that project not just once. One reason was my  cursed antique sewing machine, which I have a love-hate relationship with.  Anyways, this doll wasn't as easy as I thought... not the dolls fault. After my husband had seen it yet without hair or face, he just said it looks scary and frankly he was thinking that this doll was ugly. Sure with the slightly weird form of the head it wasn't Miss Rag Doll who would win a beauty contest, but still... this comment discouraged me from finishing it. But believe it or not, when my baby girl saw the unfinished "ugly" doll, she just loved and hugged it. That was motivation enough to keep working on it. One month of procrastination later I finally made it! And here it is:

I used to have one of these when I was a little girl. My aunt had made it. I don't have a picture, but I do remember!


Look at all that hair. I actually added by hand EVERY SINGLE HAIR fixed with a knot. But that was a good plan, because it made the hair look so full and nice and I could cover up the seams that fixed the weird head into a "normal" head...


Isn't she cute?


By the way - the skirt is a doll size version of the simple gathered skirt from Dana.
Related Posts Plugin for WordPress, Blogger...