Showing posts with label recycling. Show all posts

Tuesday, June 24, 2014

Help! I run out of thrifty T-shirts...

Today it happened. The boy (22 months old now) asked to take off the diaper in the park to pee in the  bushes. And he stayed out of diapers all day long actually wearing pants. He was running butt naked around the house for several weeks now doing his business on the pot all by himself. But as soon as he'd wear undies he just would not go to the toilet or ask for help. So I left him in diapers when out of the house. Now I bought him some undies already, but heck, a single size 2T boxer brief costs more than a pack of seven girl briefs the same size. That is if you even can find them in that size. Seems like boys around here are not expected to be out of diapers until they wear a size 4. What is wrong with this world?

Anyways, I considered today a major breakthrough in the potty training department around here so I used the almost last thrifty t-shirt left in my recycle drawer to make some boy boxers to add to his cute big boy manly underwear collection. You can never have enough undies at this stage!


I used this tutorial from Max California. The boxers come together quickly, the only change I made is that I cut the cod piece in one piece (minus some seam allowance) instead of sewing two pieces together. And I cheated and left the T-shirt hem on so I didn't need to sew the hem on the legs (one of the reasons I love repurposing old clothes... you can always re-use some of the features and safe some time and hassle). They look really great I think and the size seems right when compared with the store bought versions... I can't tell yet about the fit since the boy hasn't agreed on wearing them yet. They only been around for about 7 hours as I post this... so no need to stress about that yet. I felt inspired to blog so I had to use the momentum and blog it anyways. This place here is neglected way to much. Not that there is nothing to share, it just never makes it on the blog. Blah.

Well, on a side note: The reason my thrifty repurpose T-shirt stash is running low is very simple... I am working on a rag rug, snapping pictures on the way to finally get that tutorial for baskets/rugs together... and it actually feels pretty great to use up a bunch of T-shirts that were waiting to get a new life for way too long.


Thursday, April 3, 2014

The fun is in the making


While turning these wonderful fabric yarn balls above into a small basket I discovered something about myself. For me the greatest fun is in the making. It doesn't matter if it's crafts or cooking or even office work or breastfeeding. The greatest satisfaction for me is the process of figuring things out, how they work, why they work and how to improve them. You see when I wrote breastfeeding up there, I didn't mean it to sound like producing milk is super fun to me, but when I got hooked on the awesomeness of breastfeeding I wanted to know the hows and whys and I learned every bit I could find about it. If you are a new mom interested in breastfeeding and you ask me, you'll get a bio-chemistry lesson on the amazing world of lactoferrin and friends. I love to discover and learn and figure out how stuff works. That's true for sewing projects as well as science. But back to yarn balls from recycled t-shirts. I came across a bunch of shirts in my stash that had some prints and stains on them and I almost threw them out in a moment of spring cleaning, because I had forgotten why in the world I kept those. But thank goodness I didn't throw them in the trash right away because that is what some of them have become...


A scrappy fabric basket. And let me just tell you, it didn't involve any sewing or crochet... I pinned some rag rugs and baskets a while back, but I really didn't like the idea of monotonous hand sewing of long braided chains, and actually I preferred the look of crochet baskets anyways, but me and the hook never became friends. So I had some fun figuring out a way to make a basket that doesn't need any sewing or crocheting or complicated weaving... and no tools either other than a pair of scissors and a totally optional safety pin.


So watch out guys, I had some fun figuring this project out and I got some more ideas and variations in the works... tutorial coming soon.

Thursday, June 21, 2012

DIY Magnetic Color/Shapes Game

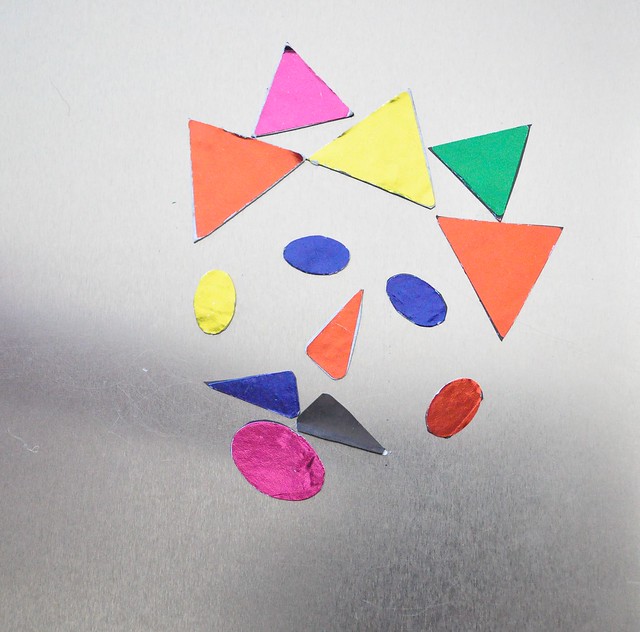
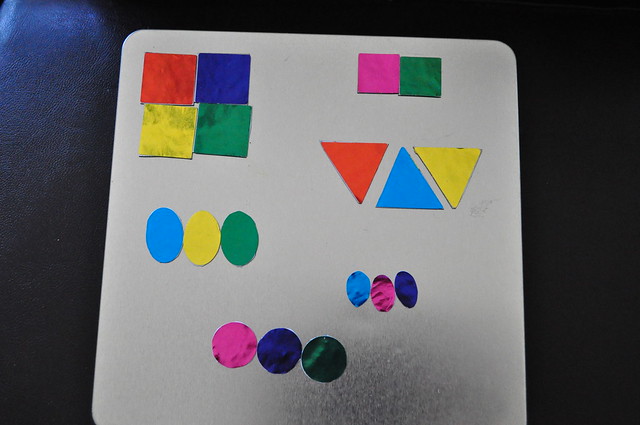
For a few months now my two year old daughter is really interested in colors, shapes, sizes and matching things. And Stickers, those stinkin' fun things that little people use to decorate your furniture when you're not looking. So one afternoon I pulled out my ever growing collection of free fridge magnets to make this:
DSC_0940
A magnetic color/shape/size game box.

This is a great craft that your toddler can help with and the game will provide hours of colorful creative fun, too. Here is what you need:
-fridge magnets, the flat "pizza" or "call your electrician" advertising ones (I don't know about you but we get them on our mailbox or door all the time. I save them, for crafts like this!) If you don't have anything like this laying around there are magnet sheets available in craft stores.
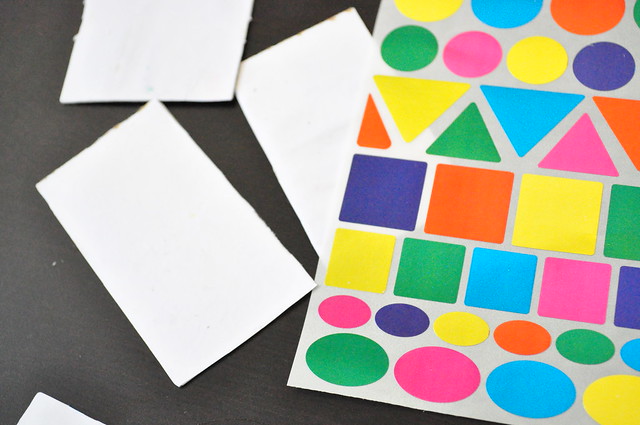
-stickers in different colors, shapes and sizes 
or alternative:
-white paper, glue and markers
-scissors
-a flat plain tin box (from chocolate or cookies, if you don't have a plain colored one you can spray paint a decorated christmas cookie tin or go buy yourself some fancy chocolate in a tin!)
or alternative:
- a fridge door (it's ok to leave it attached to you fridge)
DSC_0796
you see those two-year-old hands trying to steal the tin box to check for leftover chocolate?

DSC_0815

After you gathered all your supplies and ate all the chocolate... here is what you do:
Step 1. Pull off the advert from the magnet. Depending on the quality you'll either have several layers of white paper underneath or the whole thing will just come off and leave you with a plain black magnet. Either is fine if you use stickers (Go to step 3). If you want to draw your shapes with marker it is useful to leave the white paper on. Saves you step two.
Step 2. If the advert pulled off completely or uneven glue some white paper  to the magnet. (regular craft glue should do the job)
Step 3. Create your shapes by either sticking your shape stickers on the white side of the magnet or draw and color the shapes you like. (Both can be done by your happy crafty toddler)
Step 4. Cut out the shapes with sharp scissors.
Step 5. Play.
DSC_0799
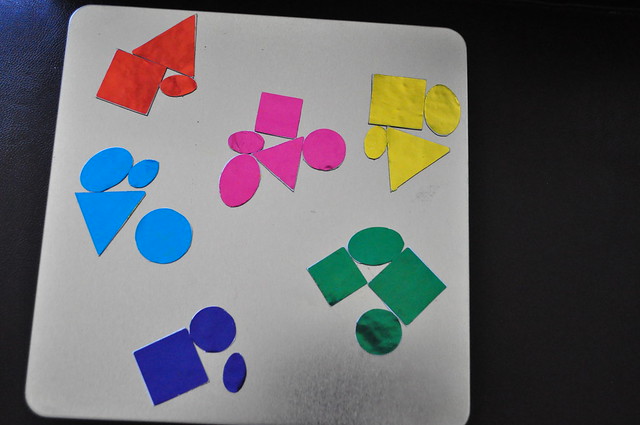
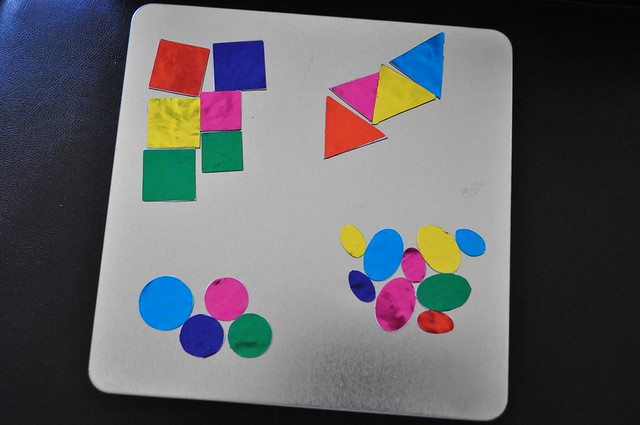
you can sort by color

DSC_0800
or shape

DSC_0801
or shape and size

DSC_0942
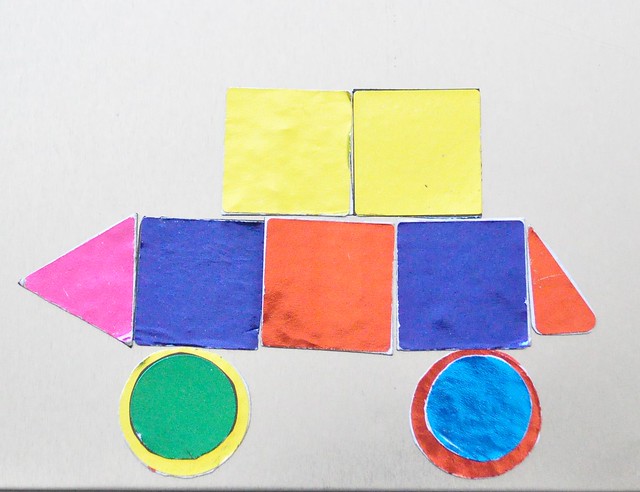
or build a car... or cities, or faces, or flowers....


It's a great activity to take with you on long car rides, because it's magnetic the pieces won't fall down all the time. As said above you can use it on the fridge or any other magnetic board or metal door around the house too, but the tin box offers you storage and take away play board in one. Plus it can easily be split up for two kids, one can use the top, one the bottom of the box as play board. So yeah to triple-greatness!

The game can easily be adjusted or extended with whatever you come up with... I am thinking to add some face features like magnetic goggly eyes and some wider variety of shapes to make up more faces (like mustaches or glasses).

Wednesday, May 2, 2012

Doll Stroller Re-Do

DSC_0767


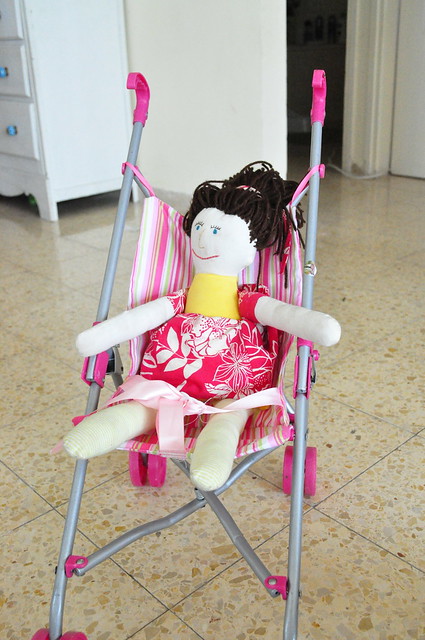
You know those cheap-o doll strollers. The fabric and make is so cheap it breaks easily, especially if some 2 year old keeps sitting in it... and since we like recycling and sewing over here, it simply wasn't an option to throw the perfectly good frame out after the fabric part ripped. My friend - the seam ripper - helped me take the old thing apart completely to use as a pattern. I used a cotton fabric that will hopefully last longer than the original. For straps I used ribbon I had laying around the house, it wasn't the best choice but does the job. I would have bought something different but had no time to run to the store, because the baby was begging me to get her stroller back to be usable!

DSC_0765


P.S.: There are a few tutorials for similar projects online... one is over here!
Related Posts Plugin for WordPress, Blogger...