A magnetic color/shape/size game box.
This is a great craft that your toddler can help with and the game will provide hours of colorful creative fun, too. Here is what you need:
-fridge magnets, the flat "pizza" or "call your electrician" advertising ones (I don't know about you but we get them on our mailbox or door all the time. I save them, for crafts like this!) If you don't have anything like this laying around there are magnet sheets available in craft stores.
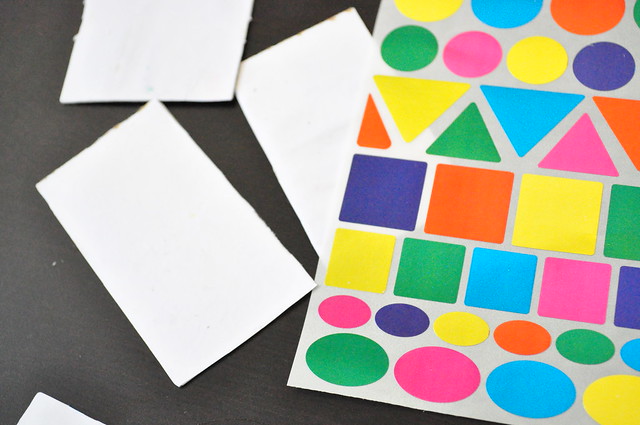
-stickers in different colors, shapes and sizes
or alternative:
-white paper, glue and markers-scissors
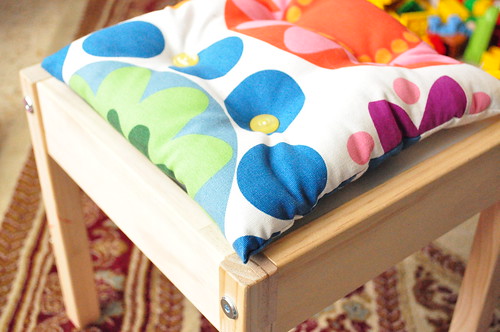
-a flat plain tin box (from chocolate or cookies, if you don't have a plain colored one you can spray paint a decorated christmas cookie tin or go buy yourself some fancy chocolate in a tin!)
or alternative:
- a fridge door (it's ok to leave it attached to you fridge)
 |
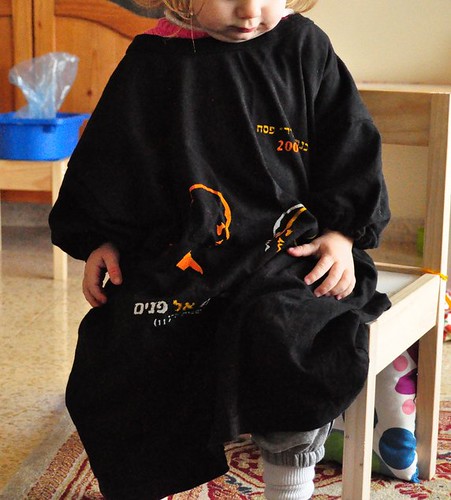
| you see those two-year-old hands trying to steal the tin box to check for leftover chocolate? |
After you gathered all your supplies and ate all the chocolate... here is what you do:
Step 1. Pull off the advert from the magnet. Depending on the quality you'll either have several layers of white paper underneath or the whole thing will just come off and leave you with a plain black magnet. Either is fine if you use stickers (Go to step 3). If you want to draw your shapes with marker it is useful to leave the white paper on. Saves you step two.
Step 2. If the advert pulled off completely or uneven glue some white paper to the magnet. (regular craft glue should do the job)
Step 3. Create your shapes by either sticking your shape stickers on the white side of the magnet or draw and color the shapes you like. (Both can be done by your happy crafty toddler)
Step 4. Cut out the shapes with sharp scissors.
Step 5. Play.
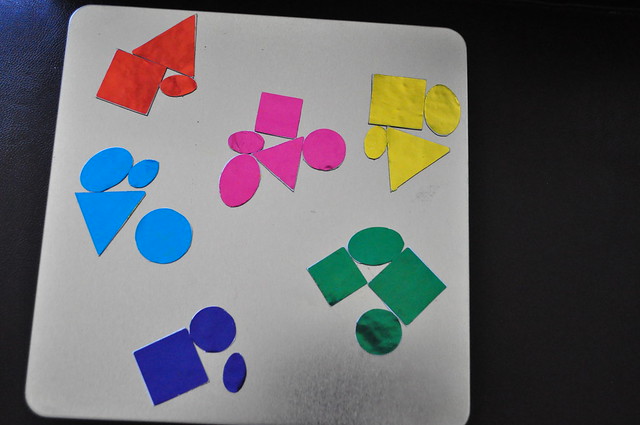 |
| you can sort by color |
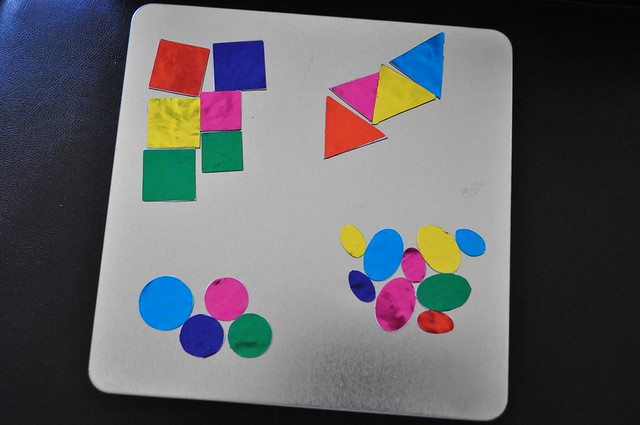 |
| or shape |
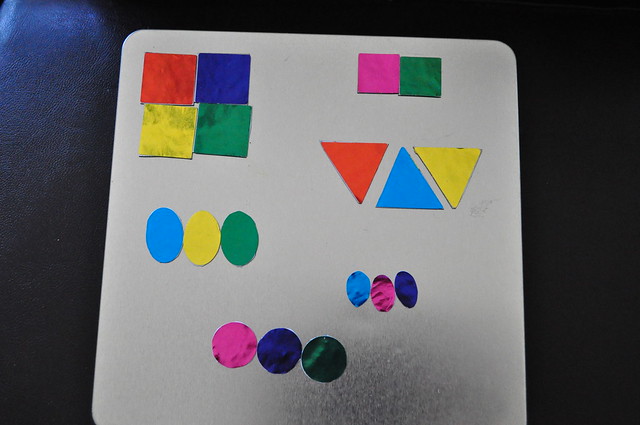 |
| or shape and size |
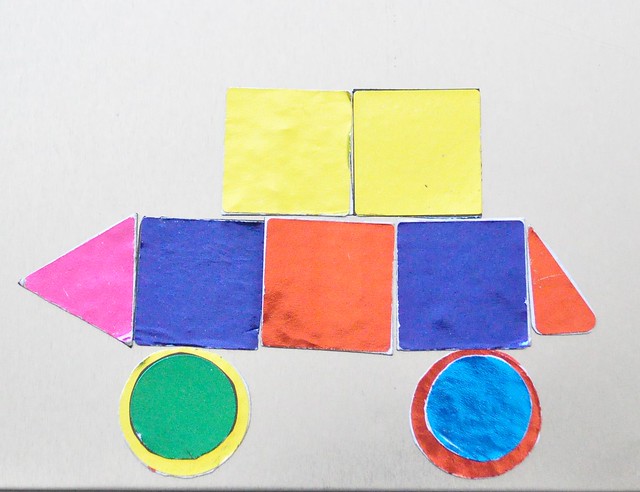 |
| or build a car... or cities, or faces, or flowers.... |
It's a great activity to take with you on long car rides, because it's magnetic the pieces won't fall down all the time. As said above you can use it on the fridge or any other magnetic board or metal door around the house too, but the tin box offers you storage and take away play board in one. Plus it can easily be split up for two kids, one can use the top, one the bottom of the box as play board. So yeah to triple-greatness!
The game can easily be adjusted or extended with whatever you come up with... I am thinking to add some face features like magnetic goggly eyes and some wider variety of shapes to make up more faces (like mustaches or glasses).